A Practical Guide to Smarter Box Labels, Better Organization, and Easier Moves
Most people don’t think about labeling until they’re halfway through packing. At that point, the garage is full of half-sealed boxes, and no one remembers what’s inside what. It doesn’t have to be that way. Taking a little time up front to plan your labeling system saves a lot of future frustration. Here’s what you need to know about labels on containers for self-storage the right way.
11 Tips for Better Self-Storage Box Labeling
1. Skip the Chaos and Start With a Plan
Start by sorting what you're storing into categories. That could mean keeping all kitchen items together, putting business inventory in one group, or separating seasonal decorations from everyday items. Once you've done that, decide how specific you want to get. Are you labeling at the room level, the item level, or somewhere in between? There’s no one correct answer, but clarity should always be the goal.
If you're using a storage unit for over a couple of months, aim for labels that will still make sense next season or year. A box that says “Miscellaneous Stuff” might work, but won’t help you down the road. Even the best memories won’t recall what’s inside a box marked “stuff.”
2. Use Clear, Consistent Box Labels for Storage
Learning how to label boxes for storage starts with one rule: be consistent. It doesn't matter if you use a label maker, masking tape, or a permanent marker. What matters is that you do it the same way across every box.
Let’s say you decide to label by room. Stick with it. A box marked “Kitchen: Bakeware” should be joined by others labeled “Kitchen: Glassware” or “Kitchen: Pantry Items.” That extra description line will help when you're scanning stacks of boxes later.
Consistency also applies to how you physically place the label. We’ll discuss that in a minute, but choose a system and stick with it for now.
3. Choose the Right Labels for Containers and Boxes
Cardboard boxes, plastic bins, and reusable totes all hold up differently over time, which is why the label you choose matters. Painter’s tape and a permanent marker might do the trick for short-term storage. For long-term use or high-humidity areas, consider waterproof labels or laminated tags.
Plastic bins can be trickier. Labels don’t always stick to slick surfaces. You may need a stronger adhesive or a label sleeve. If you're storing in a facility like StoreEase with climate-controlled units, your labels are less likely to peel or fade, but it’s still smart to use materials that won’t smear.
Standard adhesive labels work well on cardboard. Just make sure they’re legible. Black ink on white labels is a safe bet. Don’t rely on light pencil or faint colors, especially if you’ll end up reading the labels in lower light.
4. Get Creative With Box Label Ideas That Actually Work
If you want to stay organized long term, build a system that works beyond the box. One approach is to assign each box a number and keep a corresponding inventory list. That way, box #4 doesn’t need a full description on the outside, but you’ll know exactly what’s inside.
Color coding can also help. Some people use red tape for holiday décor, green for kitchen items, and blue for office supplies. You can also try using different colored markers for each room or category.
Another method that is gaining popularity is using QR codes linked to a digital inventory. You scan the label, and it pulls up a list of everything inside. This works well for tech-savvy users or small businesses storing inventory or tools.
Whatever method you use, the key is to make your system easy to maintain. Fancy labels don’t help if you abandon them after the fifth box.
5. Label Boxes by Hand Without Losing Clarity
There’s nothing wrong with hand-labeling your boxes. It’s fast, affordable, and easy to adjust on the fly. Sloppy handwriting or unclear wording can make things harder later.
Use large, bold letters and avoid cursive or script-style fonts. Stick with block lettering in a dark, permanent ink. All caps works well for readability.
Instead of writing “Toys,” try “Toys – Age 3–5” or “Legos and Dolls.” That extra detail goes a long way, especially if you're returning months later looking for something specific.
Don’t overload the label, though. Keep it simple but descriptive enough that you won’t need to open three boxes to find the item you need.
6. Label Your Storage Equipment Too
If you use shelves, document boxes, or bins inside your storage unit, they deserve labels as well. Once a sealed bin is on a high shelf, it’s easy to forget what’s inside.
Label wire shelves or rolling racks with zip ties and laminated tags. Larger adhesive labels or label sleeves are your best bet for plastic containers.
Label both sides of file boxes or containers used for business paperwork. This will help you identify the contents no matter how they're stacked or stored.
It might seem like overkill now, but this detail will save you time later, especially if you're rotating items in and out of storage.
7. Stack Boxes in a Storage Unit Without Losing Track
You can label perfectly, but you still face problems if your labels aren't visible once boxes are stacked. That's why you must know how to stack boxes in a storage unit.
Start by stacking by weight, with heavier boxes on the bottom and lighter ones on top. This is standard practice, but people often overlook how it impacts labeling.
If your labels are only on the top of each box, they disappear as soon as you stack. Instead, place identical labels on at least two adjacent sides. That way, no matter how you arrange your boxes, there’s a good chance the label will be visible.
Group similar items together and keep boxes you’ll need access to near the front. If you’re using a climate-controlled unit at StoreEase, you don’t have to worry about temperature-sensitive items going in the back.
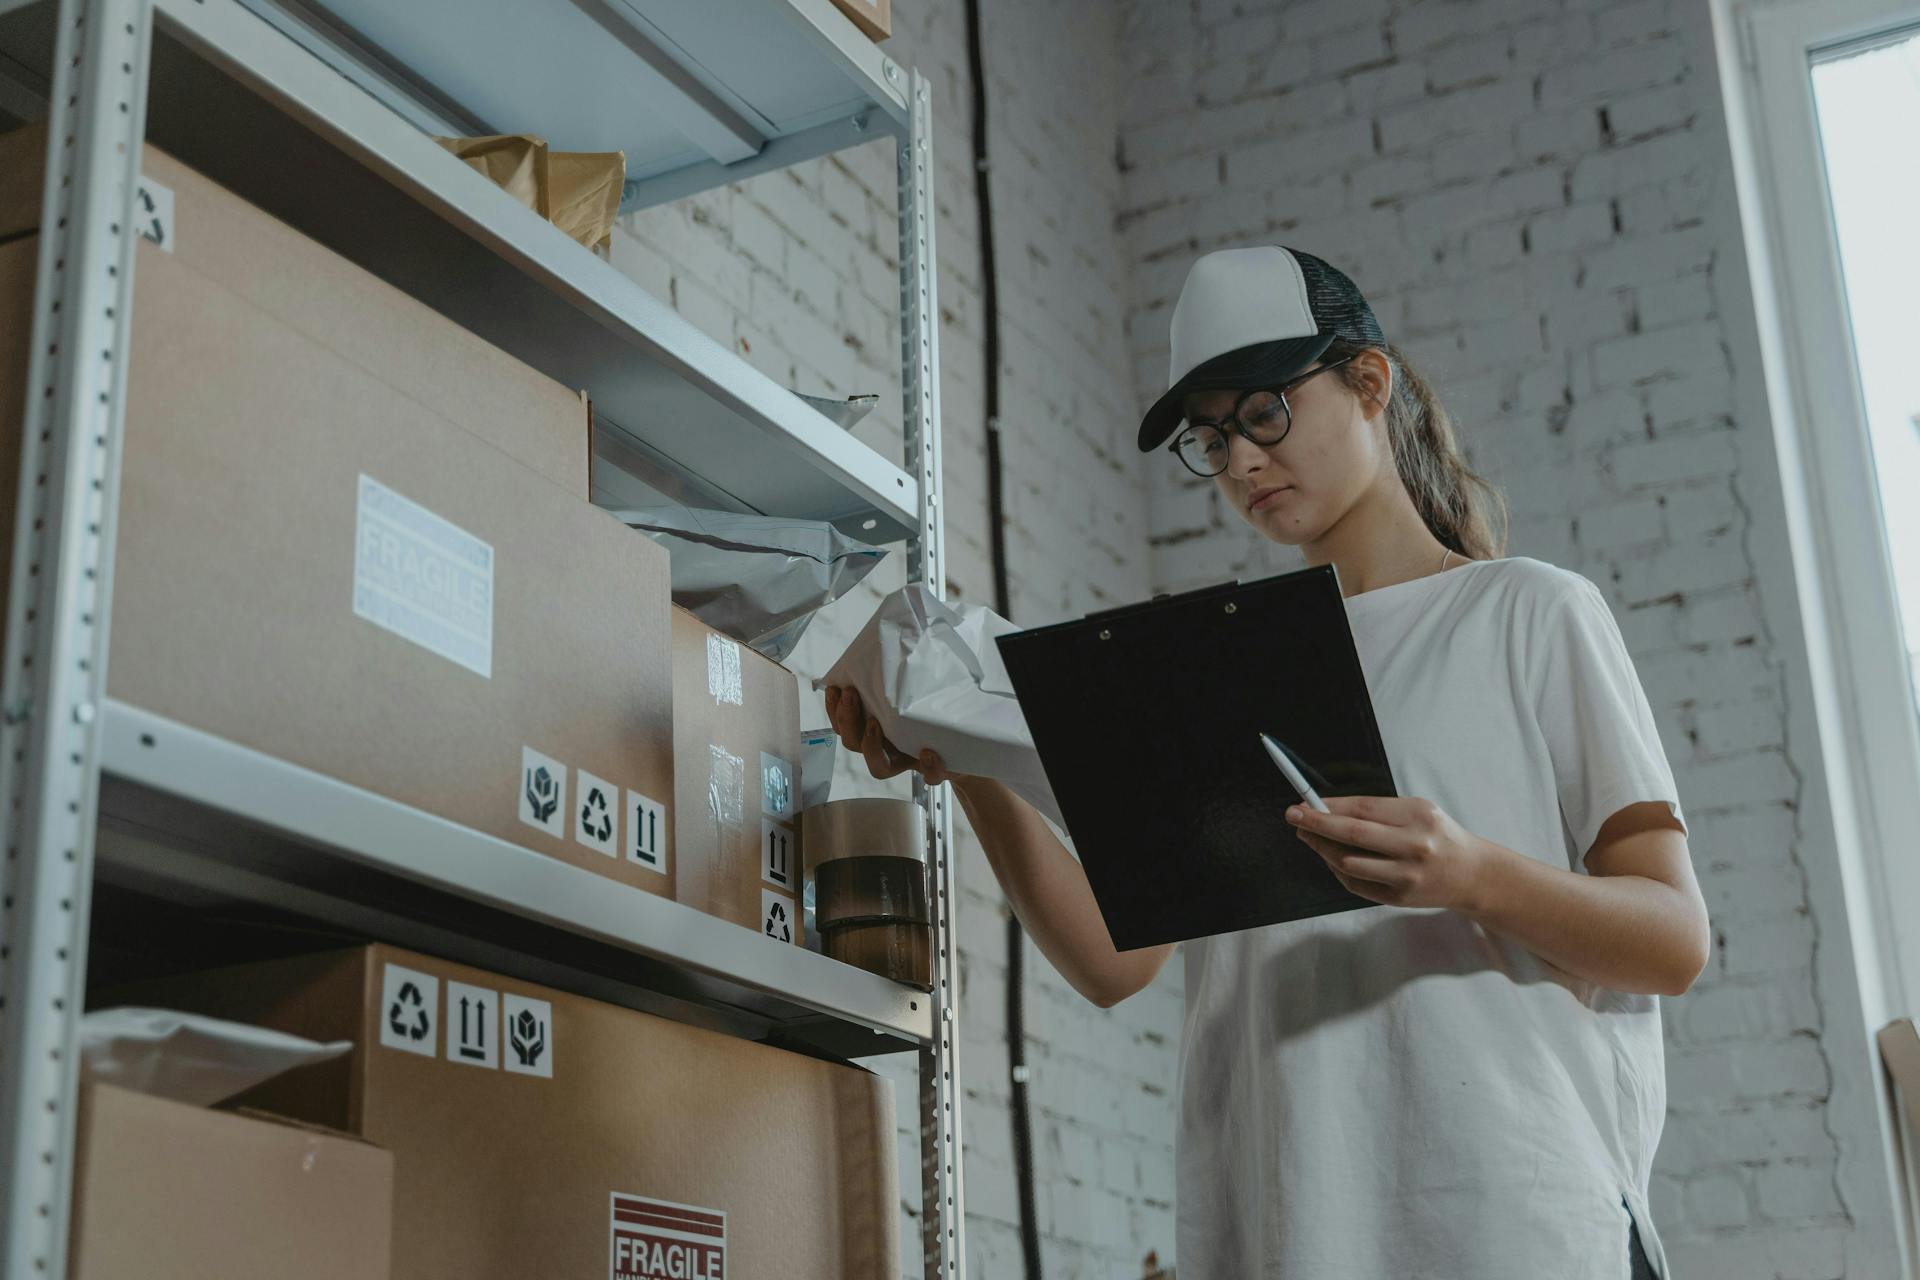
8. Label Placement Matters More Than You Think
{insert image 2}
It sounds simple, but where you place your label matters. You want it to be easy to spot without shifting boxes or moving other items around.
For larger boxes, label the top and two sides. Place the labels closer to the upper edge so they’re easier to spot when standing and looking down.
Avoid putting labels on the bottom of boxes or too close to the corners. Those are the first places to get scuffed, bent, or hidden.
If you’re using a numbering system, put the box number in the same spot on every label so you’re not hunting for it. A little consistency makes scanning stacks much quicker.
9. Keep an Inventory Without Overcomplicating It
An inventory doesn’t need to be fancy or high-tech. A basic spreadsheet or even a notebook works fine if you’re consistent.
If you’re using numbered boxes, match each number to a short list of contents. You don’t need to list every screwdriver or paperback, but include enough detail to recognize the contents without digging.
This approach really shines during moves or business use. Knowing exactly where things are stored helps avoid wasted time, whether you’re storing event gear, marketing materials, or seasonal displays.
10. Label for Special Use Cases
Not everything in storage is meant for the same timeframe. Some items are long-term, like tax documents or baby clothes you’re saving. Others, like seasonal items or business inventory, need to be rotated out regularly.
For these cases, try date-based labels or use colored labels to signal frequency. For example, green tags could mean items needed within the next month, while yellow tags mean next quarter.
StoreEase smart units make this easier. If you’re using the same unit across seasons or for business, a clear labeling system helps you stay ahead of what’s inside and due for pickup.
11. Support Your System With the Right Storage Facility
Good labeling makes your storage unit more usable. It works even better with features that support your system.
At StoreEase, units have digital access tools, Bluetooth locks, and around-the-clock accessibility. That means you can reach your items when needed without dealing with outdated keys or clunky locks.
If you’ve labeled everything clearly and stacked with access in mind, those midnight runs for holiday decorations or last-minute inventory pulls won’t feel like a hassle.
If you’re ever unsure of your setup or need help adjusting your layout, Virtual Managers are available on-site to offer guidance and support.
Make Labeling Part of a Smarter Storage Strategy
Learning how to label boxes for storage doesn’t take long, but it makes every visit to your unit easier. Whether you're storing during a move, managing business supplies, or just making room at home, smart labeling pays off.
StoreEase facilities are built to support a more organized storage experience. Everything from climate-controlled spaces to intuitive tech is designed to make the process cleaner, faster, and less stressful.
Ready to put your plan into action? Find a StoreEase location near you and discover how simple storage can be when everything is clearly marked and easy to find.